Water & Flood
Water Damage Repair: How to Save Your Property
The first twenty-four hours decide whether you are drying a house or rebuilding one. Here is the order of operations that actually protects the property and the claim.
Water damage is a race against saturation. Every hour that water sits, it moves further into materials that were fine when it started — up drywall by capillary action, along the underside of subfloor, into insulation that will then hold it for weeks.
The goal in the first day is not to make the house look normal. It is to stop the water, remove the bulk of it, and get the remaining moisture out of structural materials before microbial growth starts. Cosmetic repair comes much later.
Hour zero to two: stop the water and make it safe
Shut off the supply. Find the isolation valve for the failed fixture, or the main shutoff for the property. Everyone in the household should know where that is before they need it.
Kill the power to affected areas. Water and electricity in the same room is the one genuine danger in most residential water losses. If the panel is in a wet area or you cannot reach it safely, call an electrician.
Do not enter standing water of unknown origin. Sewage backup and floodwater carry contamination that requires protective equipment.
Hour two to twenty-four: document, then extract
This is the point where most people damage their own claim by cleaning too fast.
Photograph and video everything before you move anything. Every affected room, the failed component, the water line on the wall, the contents on the floor. Include rooms that look unaffected — you will need those later to show how far the water travelled. Take more than you think you need.
Keep the failed part. The split hose, the corroded fitting, the cracked shower pan section. It is physical evidence of a sudden failure, and it directly rebuts a gradual-damage argument.
Then extract. Standing water should be removed with a proper extraction unit, not a shop vacuum, and it should happen the same day.
Lift and separate. Get furniture off wet flooring, put foil or blocks under legs to prevent stain transfer, and remove area rugs.
Keep every receipt. Emergency mitigation, equipment rental, a hotel if the property is uninhabitable, meals if the kitchen is out of service. Most of this is reimbursable, and it is far easier to claim with paper.
Day one to five: structural drying
This is the part that separates a property that recovers from one that develops a mould problem in six weeks.
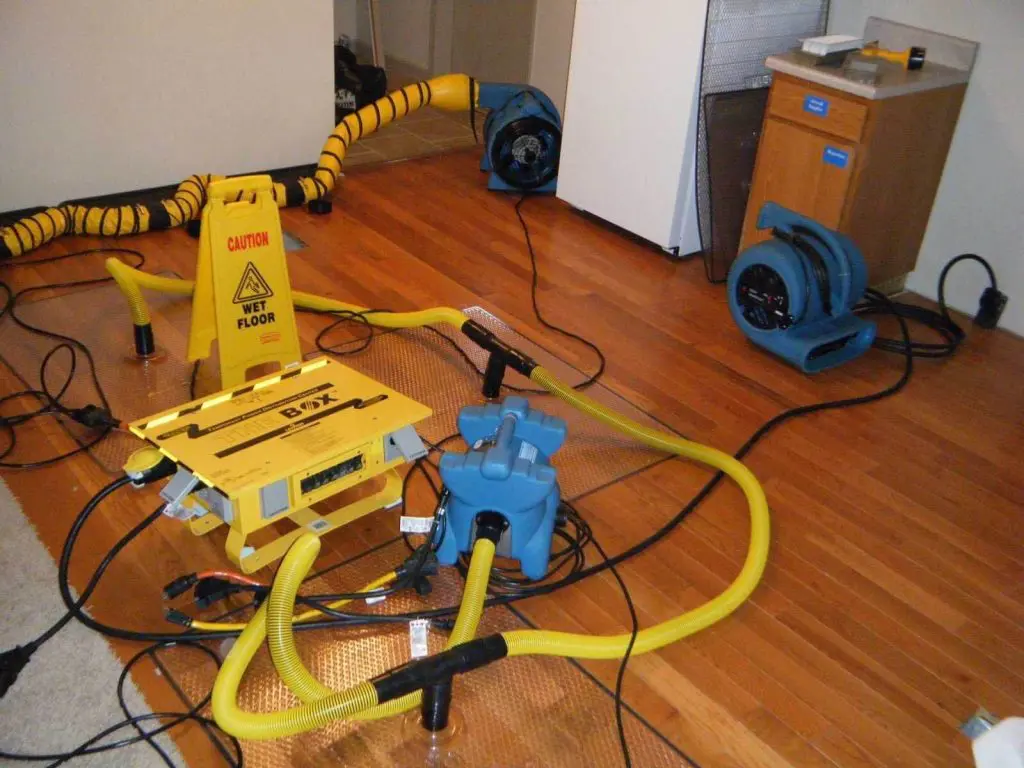
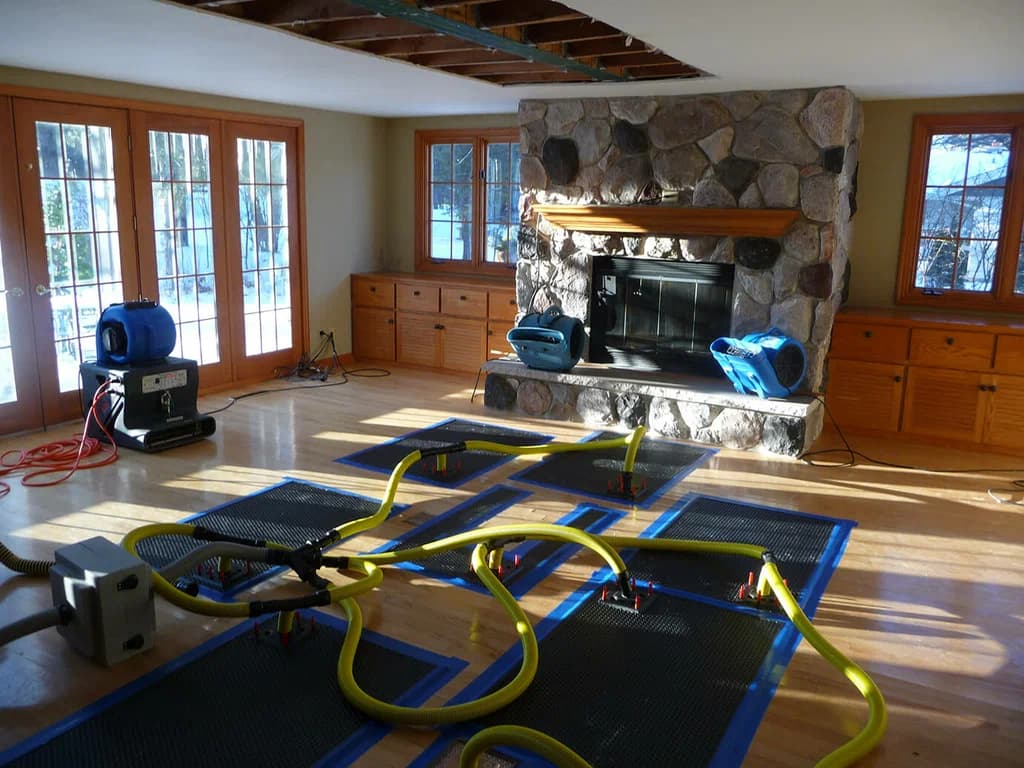
Professional drying is a measured process, not a matter of pointing fans at a wet floor. A restoration contractor working to industry standard should be:
- Taking moisture readings in affected and unaffected materials, so there is a dry standard to target
- Setting air movers and dehumidifiers at calculated quantities for the room volume and class of water
- Making flood cuts or drilling weep holes where water is trapped inside wall cavities
- Removing wet insulation, which does not dry in place
- Logging daily readings until materials reach the dry standard
Ask for the daily moisture logs. A contractor who cannot produce them is guessing, and those logs are also the documentation your insurer needs to justify the length of the drying period.
What to expect on materials
- Solid hardwood can sometimes be saved with mat drying if it is caught immediately. Once it has cupped severely or delaminated, it is replaced.
- Laminate and engineered flooring rarely survives. The core swells irreversibly.
- Carpet can often be salvaged with clean water; the pad underneath is almost always replaced.
- Drywall wicks water upward. The standard approach is a flood cut a set height above the water line rather than trying to dry it in place.
- Insulation is removed. Fibreglass holds water and cellulose collapses.
- Cabinets depend on the substrate. Particleboard swells and fails; plywood carcasses often survive.
What insurance covers, and what it does not
Under a standard Texas homeowner policy:
Generally covered: the resulting damage from a sudden and accidental escape of water — the flooring, drywall, cabinetry, contents, plus emergency mitigation and drying. Additional living expense if the home is uninhabitable. On slab leaks, the tear-out and replacement cost to access the pipe.
Generally not covered: the failed pipe or appliance itself. Damage from long-term seepage. Flood — rising water from outside — which needs a separate flood policy. Mould beyond the policy's sub-limit.
The four mistakes that cost claims
- Cleaning up completely before documenting. Once the material is in a skip, the loss is whatever your photographs say it was.
- Throwing away the failed component. It is the best evidence you will ever have about cause.
- Signing a contractor's direction-to-pay without reading it. Some assignment-of-benefits agreements transfer your claim rights entirely.
- Accepting the first estimate because it arrived quickly. Initial scopes routinely miss cavity damage, cabinetry substrate and flooring continuity.
If the number does not cover the work
That is the point at which an independent assessment is worth having. We document water damage claims throughout the Houston area and negotiate directly with the carrier — and there is no fee unless the claim recovers more.
Frequently asked questions
How long does professional water damage drying take?
Most residential structural drying runs three to five days, confirmed by daily moisture readings against a dry standard rather than by a fixed schedule. Dense materials such as hardwood, plaster and concrete can take longer. A contractor who removes equipment without documenting that materials reached the dry standard has not finished the job.
Can I do water damage repair myself and still claim on insurance?
You can perform emergency mitigation yourself, and you should — the policy requires you to prevent further damage. Document everything thoroughly before and during, and keep all receipts for materials and equipment. The risk with self-performed work is that undried cavity moisture causes a later mould loss that the carrier attributes to inadequate mitigation.
Does insurance pay for the plumber who fixed the leak?
Usually not. Most Texas policies exclude the cost of repairing the failed pipe or appliance itself while covering the resulting damage. The important exception is access: on a slab leak, the cost of breaking out and replacing concrete and flooring to reach the pipe is generally covered, and it often exceeds the plumbing repair several times over.